Getting Started with Supabase: The Open Source Firebase Alternative
EagerUI Digital Team
Getting Started with Supabase: The Open Source Firebase Alternative
Supabase has quickly become a favorite among developers looking for an open-source alternative to Firebase. With its powerful combination of PostgreSQL database, authentication, storage, and serverless functions, Supabase provides everything you need to build a modern application backend. In this guide, we'll walk through setting up your first Supabase project and integrating it with your application.
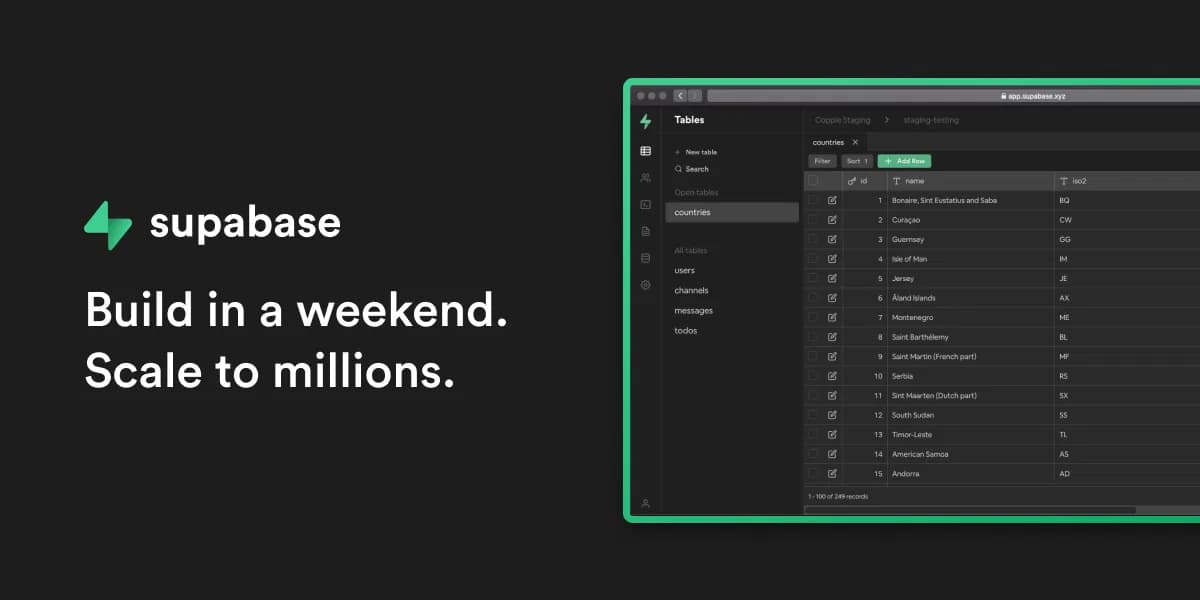
What is Supabase?
Supabase is an open-source Firebase alternative that provides all the backend services you need to build a product:
- PostgreSQL Database: A powerful, open-source relational database
- Authentication: User sign-ups and logins with multiple providers
- Auto-generated APIs: Instant RESTful and GraphQL APIs
- Storage: File storage and management
- Edge Functions: Serverless functions for custom logic
- Realtime: Build realtime applications with websockets
The best part? It's all built on open-source technologies, giving you full control over your data and infrastructure.
Setting Up Your First Supabase Project
Step 1: Create a Supabase Account
- Visit supabase.com and click "Start your project"
- Sign up using GitHub, GitLab, or email
- Verify your email if necessary
Step 2: Create a New Project
- From the Supabase dashboard, click "New Project"
- Choose an organization (create one if you don't have any)
- Give your project a name
- Set a secure database password
- Choose a region closest to your users
- Click "Create new project"
Your project will take a few minutes to provision. Once it's ready, you'll be redirected to the project dashboard.
Step 3: Set Up Your Database
Supabase provides a powerful SQL editor to manage your database:
- Navigate to the "SQL Editor" section in the sidebar
- Let's create a simple table for a todo app:
CREATE TABLE todos (
  id UUID DEFAULT uuid_generate_v4() PRIMARY KEY,
  user_id UUID REFERENCES auth.users NOT NULL,
  task TEXT NOT NULL,
  is_complete BOOLEAN DEFAULT FALSE,
  created_at TIMESTAMP WITH TIME ZONE DEFAULT NOW()
);

-- Enable Row Level Security
ALTER TABLE todos ENABLE ROW LEVEL SECURITY;

-- Create policy that allows users to see only their own todos
CREATE POLICY "Users can view their own todos"
  ON todos FOR SELECT
  USING (auth.uid() = user_id);

-- Create policy that allows users to create their own todos
CREATE POLICY "Users can create their own todos"
  ON todos FOR INSERT
  WITH CHECK (auth.uid() = user_id);

-- Create policy that allows users to update their own todos
CREATE POLICY "Users can update their own todos"
  ON todos FOR UPDATE
  USING (auth.uid() = user_id);

-- Create policy that allows users to delete their own todos
CREATE POLICY "Users can delete their own todos"
  ON todos FOR DELETE
  USING (auth.uid() = user_id);
This creates a todos table with Row Level Security (RLS) policies that ensure users can only access their own data.
Integrating Supabase with Your Application
Step 1: Install the Supabase Client Library
For a JavaScript/TypeScript application:
npm install @supabase/supabase-js
# or
yarn add @supabase/supabase-js
Step 2: Initialize the Supabase Client
Create a client connection to your Supabase project:
import { createClient } from '@supabase/supabase-js';

const supabaseUrl = 'https://your-project-url.supabase.co';
const supabaseKey = 'your-anon-key'; // Find this in Project Settings > API

export const supabase = createClient(supabaseUrl, supabaseKey);
For security, it's best to store these values in environment variables:
// .env.local
NEXT_PUBLIC_SUPABASE_URL=https://your-project-url.supabase.co
NEXT_PUBLIC_SUPABASE_ANON_KEY=your-anon-key

// In your code
import { createClient } from '@supabase/supabase-js';

export const supabase = createClient(
  process.env.NEXT_PUBLIC_SUPABASE_URL,
  process.env.NEXT_PUBLIC_SUPABASE_ANON_KEY
);
Step 3: Implement Authentication
Supabase makes authentication simple. Here's how to implement a basic email/password sign-up and login:
// Sign up a new user
async function signUp(email, password) {
  const { data, error } = await supabase.auth.signUp({
    email,
    password,
  });

  if (error) {
    console.error('Error signing up:', error.message);
    return null;
  }

  return data;
}

// Sign in an existing user
async function signIn(email, password) {
  const { data, error } = await supabase.auth.signInWithPassword({
    email,
    password,
  });

  if (error) {
    console.error('Error signing in:', error.message);
    return null;
  }

  return data;
}

// Sign out
async function signOut() {
  const { error } = await supabase.auth.signOut();

  if (error) {
    console.error('Error signing out:', error.message);
  }
}
Step 4: CRUD Operations with the Database
Now let's implement basic CRUD operations for our todos table:
// Create a new todo
async function createTodo(task) {
  const { data, error } = await supabase
    .from('todos')
    .insert([{ task, user_id: supabase.auth.user().id }])
    .select();

  if (error) {
    console.error('Error creating todo:', error.message);
    return null;
  }

  return data[0];
}

// Get all todos for the current user
async function getTodos() {
  const { data, error } = await supabase
    .from('todos')
    .select('*')
    .order('created_at', { ascending: false });

  if (error) {
    console.error('Error fetching todos:', error.message);
    return [];
  }

  return data;
}

// Update a todo
async function updateTodo(id, updates) {
  const { data, error } = await supabase
    .from('todos')
    .update(updates)
    .match({ id })
    .select();

  if (error) {
    console.error('Error updating todo:', error.message);
    return null;
  }

  return data[0];
}

// Delete a todo
async function deleteTodo(id) {
  const { error } = await supabase
    .from('todos')
    .delete()
    .match({ id });

  if (error) {
    console.error('Error deleting todo:', error.message);
    return false;
  }

  return true;
}
Step 5: Implementing Real-time Updates
One of Supabase's powerful features is real-time functionality. Let's set up a subscription to get live updates when todos change:
// Subscribe to changes in the todos table
function subscribeToTodos(callback) {
  const subscription = supabase
    .channel('public:todos')
    .on('postgres_changes',
      {
        event: '*',
        schema: 'public',
        table: 'todos',
        filter: `user_id=eq.${supabase.auth.user().id}`
      },
      (payload) => {
        callback(payload);
      }
    )
    .subscribe();

  // Return the subscription so it can be unsubscribed later
  return subscription;
}

// Example usage in a React component
useEffect(() => {
  const subscription = subscribeToTodos((payload) => {
    if (payload.eventType === 'INSERT') {
      setTodos(prev => [payload.new, ...prev]);
    } else if (payload.eventType === 'UPDATE') {
      setTodos(prev => prev.map(todo =>
        todo.id === payload.new.id ? payload.new : todo
      ));
    } else if (payload.eventType === 'DELETE') {
      setTodos(prev => prev.filter(todo => todo.id !== payload.old.id));
    }
  });

  // Clean up subscription when component unmounts
  return () => {
    subscription.unsubscribe();
  };
}, []);
File Storage with Supabase
Supabase also provides file storage capabilities. Here's how to upload and retrieve files:
// Upload a file
async function uploadFile(file, bucket = 'public') {
  const fileName = `${Date.now()}-${file.name}`;

  const { data, error } = await supabase
    .storage
    .from(bucket)
    .upload(fileName, file);

  if (error) {
    console.error('Error uploading file:', error.message);
    return null;
  }

  // Get public URL
  const { data: { publicUrl } } = supabase
    .storage
    .from(bucket)
    .getPublicUrl(fileName);

  return publicUrl;
}

// List files in a bucket
async function listFiles(bucket = 'public', path = '') {
  const { data, error } = await supabase
    .storage
    .from(bucket)
    .list(path);

  if (error) {
    console.error('Error listing files:', error.message);
    return [];
  }

  return data;
}

// Delete a file
async function deleteFile(path, bucket = 'public') {
  const { error } = await supabase
    .storage
    .from(bucket)
    .remove([path]);

  if (error) {
    console.error('Error deleting file:', error.message);
    return false;
  }

  return true;
}
Conclusion
Supabase provides a comprehensive suite of backend services that make it easy to build modern applications without managing complex infrastructure. In this guide, we've covered the basics of setting up a Supabase project and integrating it with your application for authentication, database operations, real-time updates, and file storage.
As you continue working with Supabase, you'll discover more advanced features like Edge Functions for serverless computing, GraphQL support, and database webhooks. The platform is constantly evolving with new features while maintaining its commitment to open-source technologies.
Whether you're building a simple todo app or a complex enterprise application, Supabase provides the tools you need to focus on building your product rather than managing infrastructure.
Ready to take your Supabase skills further? Check out the official documentation for in-depth guides and API references.
